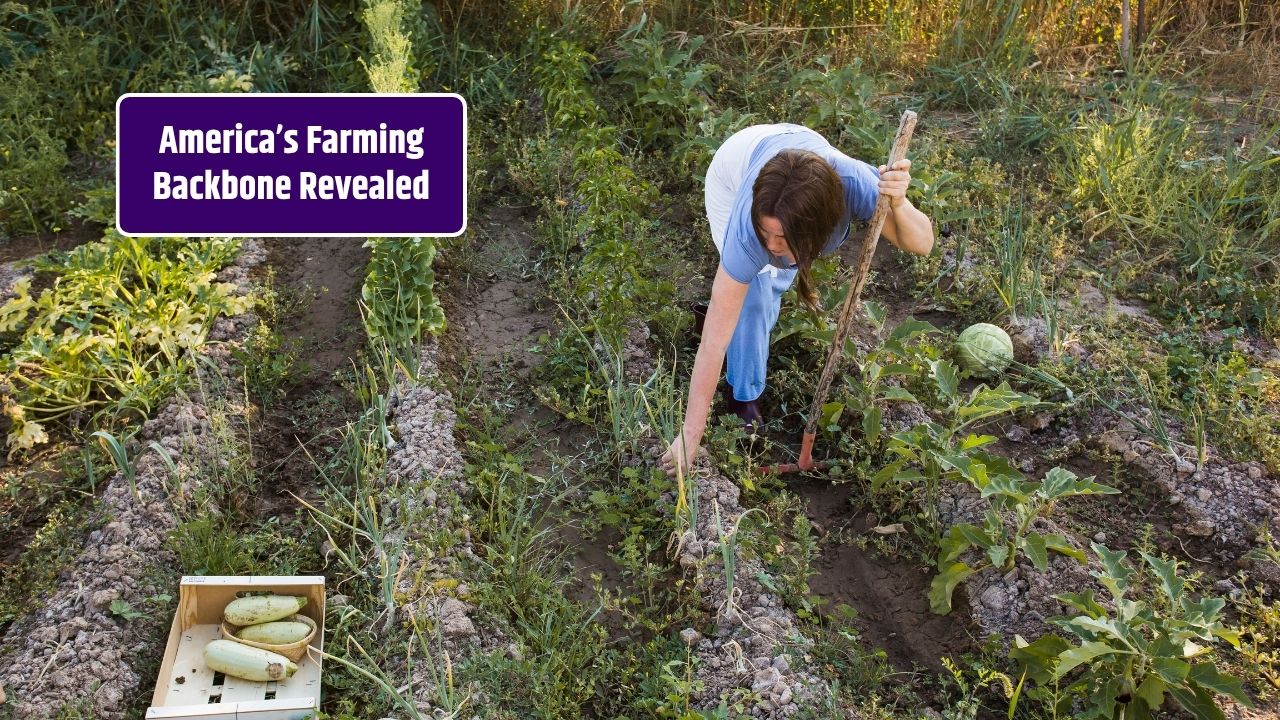
Microgreens are rapidly becoming one of the most talked-about superfoods—and for good reason. Packed with flavor, nutrients, and color, these tiny greens can be grown right in your kitchen, often in as little as 7 days. Whether you’re looking to eat healthier, save money, or start a small-scale farming project, microgreens offer a quick, easy, and low-cost way to reap big benefits.
Here’s everything you need to know about growing and enjoying microgreens in 2025.
Table of Contents
What Are Microgreens?

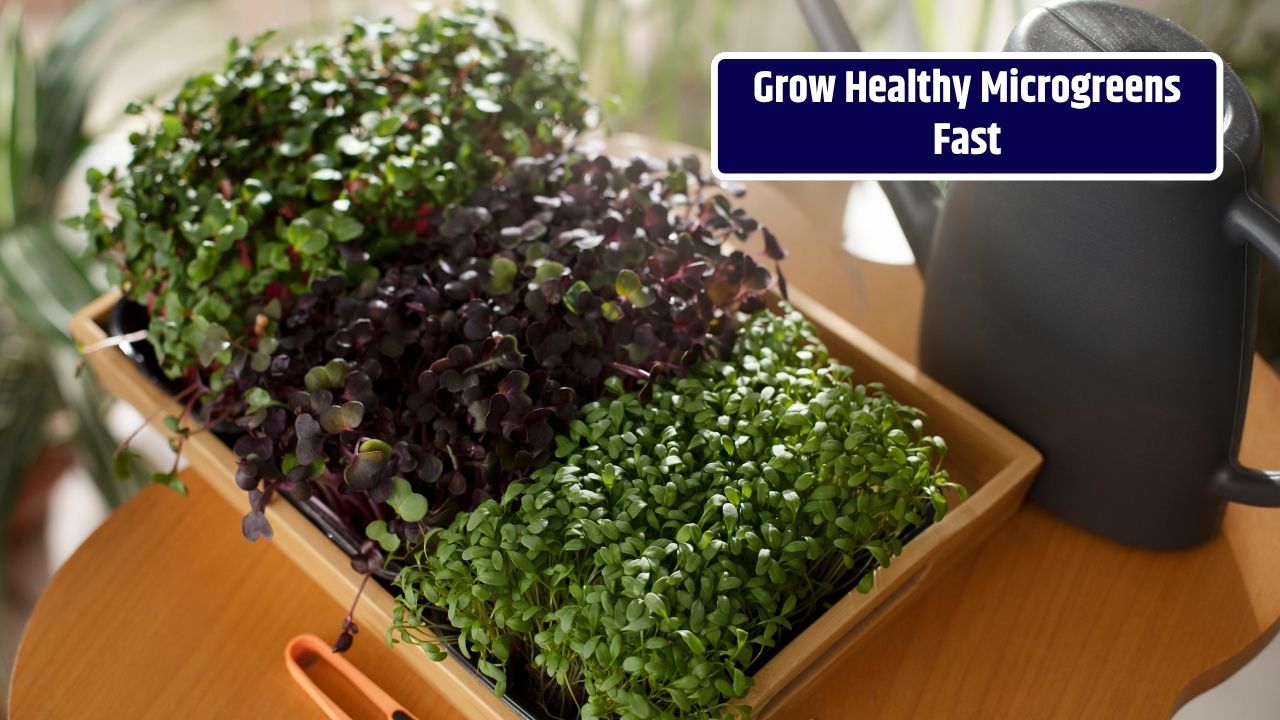
Microgreens are young vegetable greens harvested just after the first set of true leaves appear—usually 7 to 14 days after germination. They’re more developed than sprouts but smaller than baby greens. Microgreens are used as garnishes, salad ingredients, smoothie boosters, and even in fine dining for their flavor and visual appeal.
Popular Microgreen Varieties:
| Type | Flavor Profile | Days to Harvest |
|---|---|---|
| Broccoli | Mild, peppery | 6–10 days |
| Radish | Spicy, crunchy | 5–7 days |
| Sunflower | Nutty, crisp | 7–10 days |
| Pea Shoots | Sweet, tender | 7–14 days |
| Arugula | Sharp, peppery | 6–8 days |
| Beet | Earthy, vibrant red | 10–12 days |
Why Microgreens Are a Superfood
Research in 2025 continues to confirm that microgreens are nutritional powerhouses. According to USDA studies:
- They can contain 4–40 times more nutrients than their mature counterparts
- Rich in vitamins C, E, and K, as well as beta-carotene and lutein
- High in polyphenols and antioxidants, which may reduce inflammation
- Often easier to digest due to lower fiber content
Adding just a handful of microgreens to your meals can significantly boost your nutrient intake without added calories.
How to Grow Microgreens in 7 Days

You don’t need a garden or fancy equipment—just a sunny window or LED grow light.
What You’ll Need:
- Seeds (organic or untreated preferred)
- Shallow tray or container with drainage holes
- Seed-starting mix or coconut coir
- Spray bottle
- Light source (sunlight or LED grow light)
Step-by-Step Growing Guide:
- Fill your tray with a thin layer (1–2 inches) of growing medium.
- Moisten the soil evenly with a spray bottle.
- Scatter seeds densely over the surface, but avoid overlapping.
- Press seeds gently into the soil; mist again.
- Cover with a lid or another tray for 2–3 days (dark period for germination).
- Uncover and expose to light once sprouts appear. Water lightly as needed.
- Harvest in 5–10 days using scissors, cutting just above the soil line.
That’s it—your homegrown microgreens are ready!
Tips for Maximum Growth
- Use clean, food-safe containers to avoid mold.
- Ensure good airflow and avoid overwatering.
- Rotate trays to ensure even light exposure.
- Try stacking trays to grow multiple varieties at once.
- Harvest right before eating for peak freshness and nutrition.
Microgreens in 2025: From Kitchen Gardens to Small Businesses
Microgreens have gained popularity not just among health enthusiasts, but also among urban farmers and home-based entrepreneurs. In 2025:
- Demand for locally grown, pesticide-free greens is booming
- Restaurants and meal-prep companies seek custom blends
- Small growers are selling microgreens at farmers’ markets and online

Startup costs are low, and turnaround time is fast—making microgreens a great entry point into sustainable food production.
FAQs
Are microgreens the same as sprouts?
No. Sprouts are grown in water and harvested before leaves appear. Microgreens are grown in soil or media and harvested after the first leaves emerge.
Can I reuse the soil for more batches?
It’s best to start fresh each time to avoid disease and nutrient depletion.
How long do microgreens stay fresh after harvest?
They last 5–7 days in the fridge if stored in an airtight container with a dry paper towel.
Can I grow microgreens without sunlight?
Yes—an LED grow light provides consistent results, especially in low-light spaces.